
Drywall is a commonly used material in homes & buildings, known for its durability and ease of installation. Moreover, accidents happen, & large holes in drywall can occur for various reasons. Such as furniture bumps, doorknob impact, or water damage. Repairing these holes fastly is important to maintain your walls’ aesthetics & structural integrity. This blog will guide you all over repairing large holes in drywall using a drywall repair kit.
Understanding Drywall Repair Kits

Drywall repair kits are comprehensive packages that include all the materials & tools needed to fix holes in drywall. These kits mostly contain self-adhesive mesh patches, joint compound, putty knife, sandpaper, & sometimes a primer. The benefit of using a drywall repair kit is that it gives you everything you require in one package, saving you time & effort in gathering individual materials.
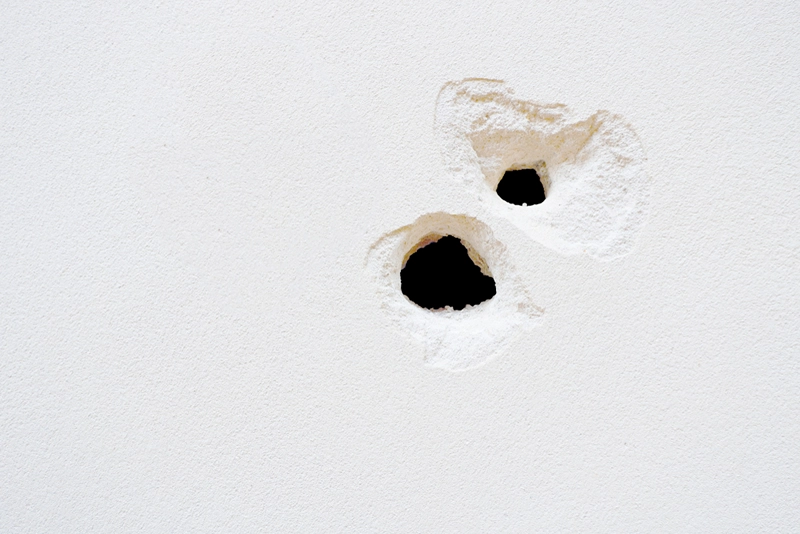
Assessing the Damage
Before proceeding with the repair, it’s important to assess the extent of the damage. Large holes in drywall are typically categorized as those larger than six inches in diameter. Carefully check the hole to determine if any underlying structures, such as electrical wires or plumbing, are affected. Ensure that the area is safe to work on before proceeding with the repair.
Preparing the Work Area
Preparing the work area is essential before repairing large holes in drywall. It involves gathering the necessary tools and materials, clearing the surrounding area, and protecting the surfaces to ensure a smooth and efficient repair. Let’s explore each aspect in detail:
· Gather the Necessary Tools and Materials
Start by collecting all the tools and materials required for the repair. In addition to the drywall repair kit, you may need a utility knife, pencil, measuring tape, drop cloths or plastic sheets, a clean cloth or vacuum cleaner, and any additional items specified in the repair kit instructions. Everything readily available will save time and ensure you have what you need.
· Clear the Surrounding Area
Remove any furniture, decorations, or objects near the damaged drywall. Clearing the area provides ample space to work and prevents any obstructions that could hinder the repair process. Ensure enough room to move around comfortably and access the hole without restrictions.
· Protect the Surrounding Surfaces
Use drop cloths or plastic sheets to cover the floor and any adjacent surfaces at risk of damage during the repair. It includes furniture, carpets, or other delicate items in the vicinity. The drop cloths or plastic sheets will catch any dust, debris, or paint splatters, doing cleaning and protecting your belongings more accessible.
Patching the Hole
The following steps will guide you through patching the hole in the drywall:
· Prepare the Drywall Patch
Take a self-adhesive mesh patch from the repair kit and cut it to a size slightly larger than the hole. It will ensure adequate coverage and a secure bond.
· Apply the Patch
Carefully place the patch over the hole, ensuring it overlaps the edges by about an inch. Press it firmly against the drywall, smoothing any air bubbles or wrinkles.
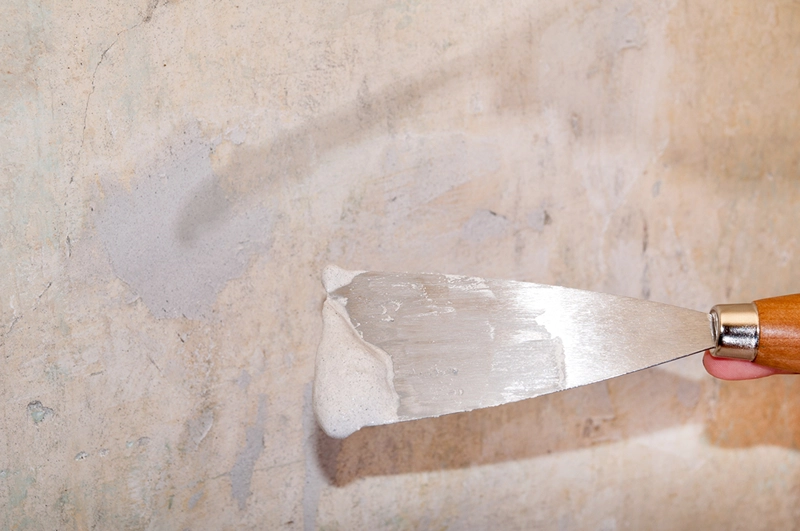
· Apply Joint Compound
Using a putty knife, use a thin layer of joint compound over the patch, covering it slightly beyond the edges. Feather the compound smoothly to blend it with the surrounding wall.
Sanding & Smoothing
After the joint compound has dried, it’s time to sand and smooth the repaired area:
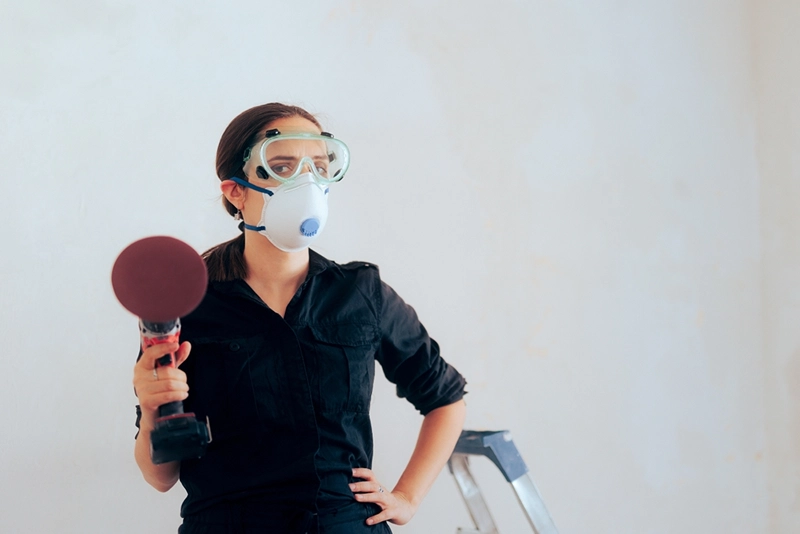
· Sand the Patched Area
Using fine-grit sandpaper, gently sand the dried joint compound until it feels smooth and level with the surrounding wall. Be careful not to apply too much pressure or sand excessively, as it may damage the patch.
· Clean the Dust
Remove the sanding dust using a clean cloth or vacuum cleaner. Ensure that the area is clean & free from any dust before proceeding.
Applying the Finish
To achieve an unseamed finish, follow these steps:
· Apply Multiple Layers of Joint Compound
Apply two to three additional thin layers of joint compound over the patched area, allowing each layer to dry completely before applying the next. Feather the edges to make a smooth transition with the surrounding wall.
· Sand and Clean Again
After the final layer of the joint compound has dried, sand the area again to achieve a perfectly smooth finish. Clean the dust thoroughly to prepare for painting.
Painting the Patched Area
Painting the patched area is the final step in repairing large holes in drywall. It involves priming the patched area and applying paint to achieve a seamless and blended finish. Let’s explore the process in detail:
· Prime the Patch
If your drywall repair kit includes a primer, it is recommended to apply it to the patched area before painting. Priming helps create a uniform surface, improves paint adhesion, and ensures consistent color coverage. Using a brush or roller, apply the primer according to the manufacturer’s instructions. Make sure to cover the entire patched area evenly, extending slightly beyond the edges of the repair.
· Paint the Patched Area
After the primer has dried (refer to the product label for recommended drying time), it’s time to paint the patched area. Choose a paint color that matches the existing wall color. Apply the paint evenly over the patched area using a paintbrush or roller.
· Blend the Paint
To achieve a professional finish, feather the edges of the paint using a brush or roller. This technique helps blend the patched area with the rest of the wall, minimizing any visible transition lines. Feathering involves gently overlapping the new paint with the surrounding wall, gradually fading it out to create a smooth and seamless appearance.
· Allow the Paint to Dry
Once the paint has been put on, let it dry completely. Refer to the paint can for the encouraged drying time. Avoid touching or disturbing the painted surface until fully dry to prevent smudging or blemishes.
Final Touches & Clean-Up
Complete the repair process with these final touches:
· Inspect the Repair
Carefully inspect the patched area to ensure it blends seamlessly with the surrounding wall. Make any necessary touch-ups or adjustments to achieve a professional result.
· Clean Up
Remove the drop cloths or plastic sheets used to protect the surrounding surfaces. Clean your tools and appropriately dispose of any waste materials.
Conclusion
Repairing large holes in drywall is a task that can be accomplished with a drywall repair kit and some patience. Following the outlined steps, you can restore your walls to their original condition, ensuring a seamless and professional-looking repair. Remember to take your time, pay attention to detail, and enjoy the satisfaction of a job well done.